A common problem with Home automation is the fact that you will need to update or modify all of your existing switches in order to properly automate your home.
Since these operate on mains electricity, and that electricity can easily kill you, not many people dare to touch them and this is OK.
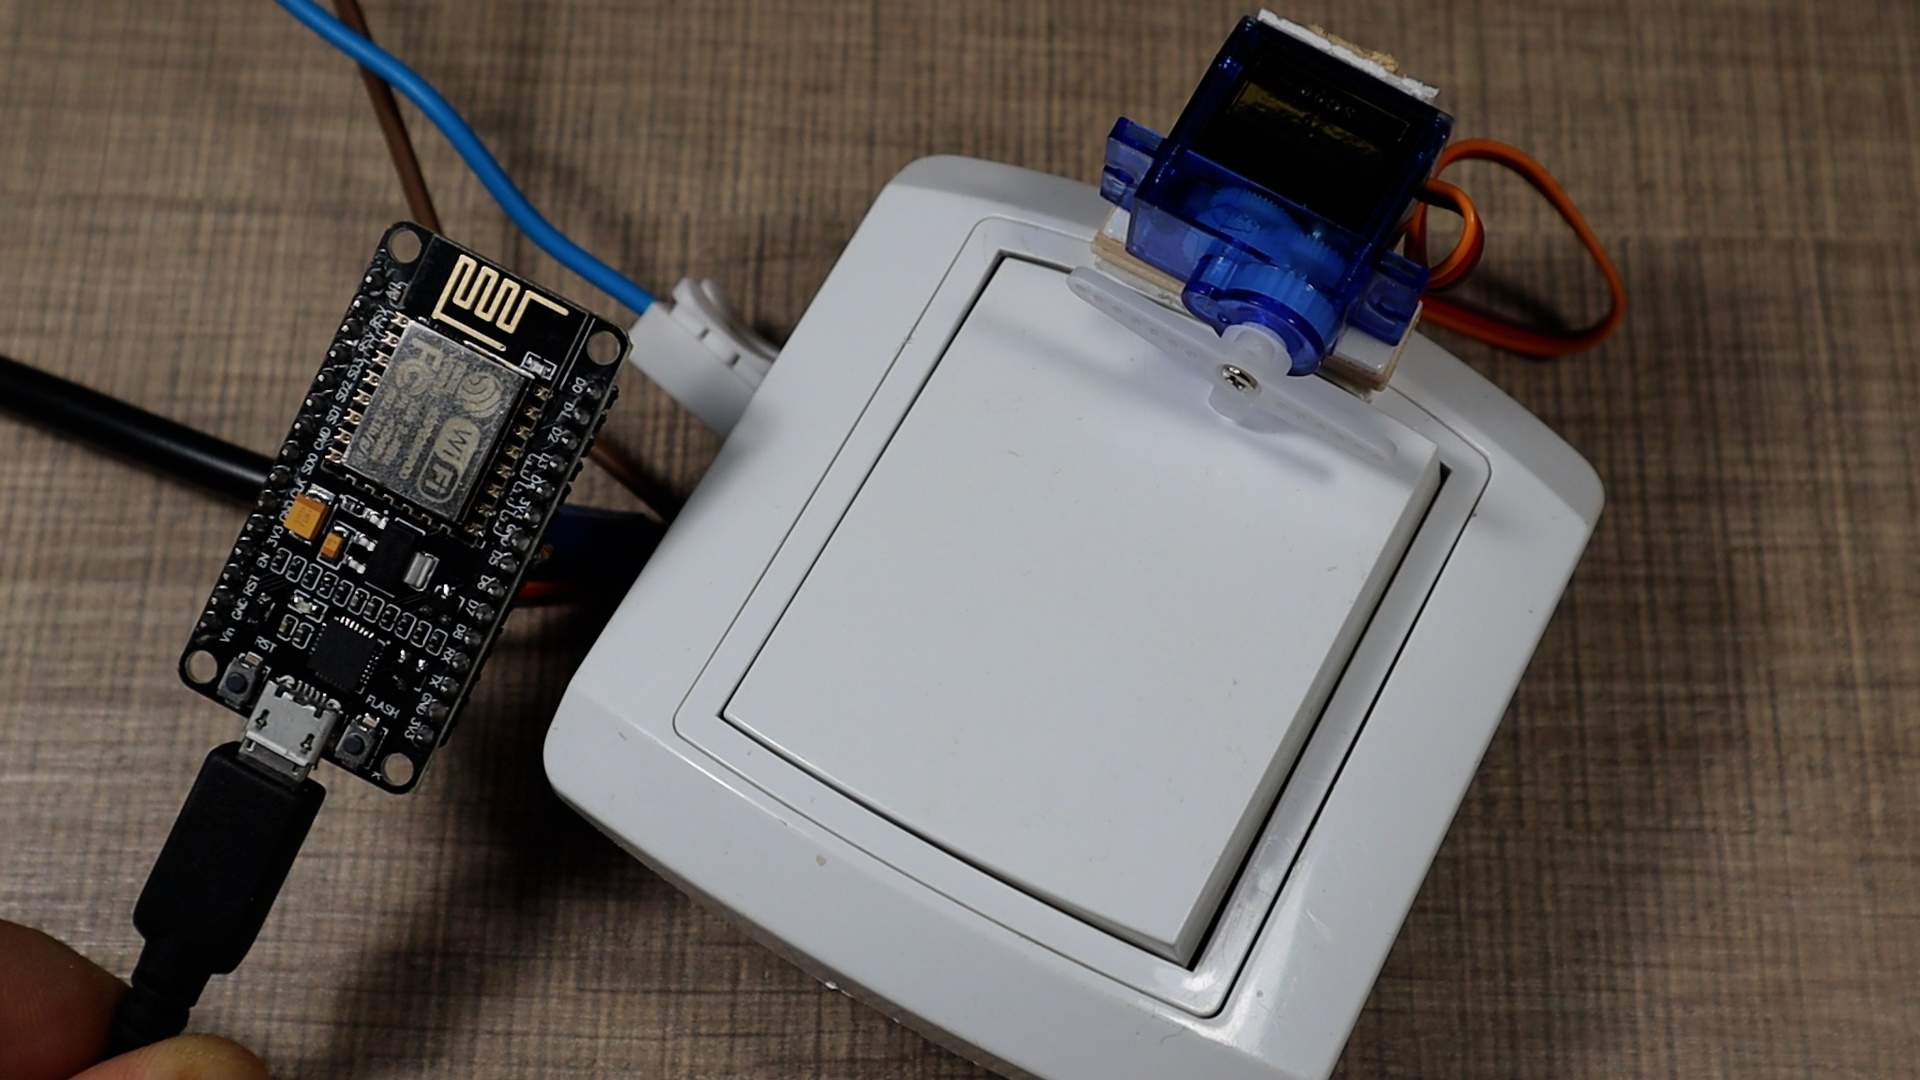
To try and tackle this, I've created a device that can be attached to the exterior of the switch and can be connected to Home Assistant to automate any switch without even touching the wires or removing the switch from the wall.
Let me introduce you to the ButtonBot!
As you've seen from the video above, the device can be glued to the outside of the switch and it can then push it in any direction to either turn it on or turn it off. Both the distance and the time of the press duration can be easily adjusted so it can be easily adjusted to work with any switch or button that needs to be held pressed.
To make one for yourself, you'll need the following components:
- NodeMCU - https://s.click.aliexpress.com/e/_Eur8JFZ
- 9g Mini Servo Motor - https://s.click.aliexpress.com/e/_DDiIp4z
The configuration code that I used on my device is below.
output:
  - platform: esp8266_pwm
    id: pwm_output
    pin: D5
    frequency: 50 Hz

button:
  - platform: template
    name: Turn On
    id: my_btn_on
    icon: "mdi:light-switch"
    on_press:
      - number.set:
          id: servo_value
          value: !lambda "return id(press_distance).state;"
      - delay: !lambda "return id(press_duration).state;"
      - number.set:
          id: servo_value
          value: 0

  - platform: template
    name: Turn Off
    id: my_btn_off
    icon: "mdi:light-switch-off"
    on_press:
      - number.set:
          id: servo_value
          value: !lambda "return id(press_distance).state * -1;"
      - delay: !lambda "return id(press_duration).state;"
      - number.set:
          id: servo_value
          value: 0

servo:
  - id: my_servo
    output: pwm_output

number:
  - platform: template
    id: servo_value
    name: Servo Position
    min_value: -100
    initial_value: 0
    max_value: 100
    step: 1
    optimistic: true
    set_action:
      then:
        - servo.write:
            id: my_servo
            level: !lambda 'return x / 100.0;'

  - platform: template
    id: press_duration
    name: Press Duration
    min_value: 200
    initial_value: 500
    max_value: 5000
    step: 100
    mode: box
    optimistic: true

  - platform: template
    id: press_distance
    name: Press Distance
    min_value: 0
    initial_value: 60
    max_value: 100
    step: 1
    mode: box
    optimistic: true
By buying through the links below, you support the channel at no extra cost!
- Soldering Station - https://s.click.aliexpress.com/e/_DBmBjUX
- Jumper Wires - https://s.click.aliexpress.com/e/_DkWW1nZ
- Wire Snips - https://s.click.aliexpress.com/e/_DFP86vv
- Prototyping PCBs - https://s.click.aliexpress.com/e/_DcvrbuF
- Mini PC to run Home Assistant - https://s.click.aliexpress.com/e/_DDoIAMb


