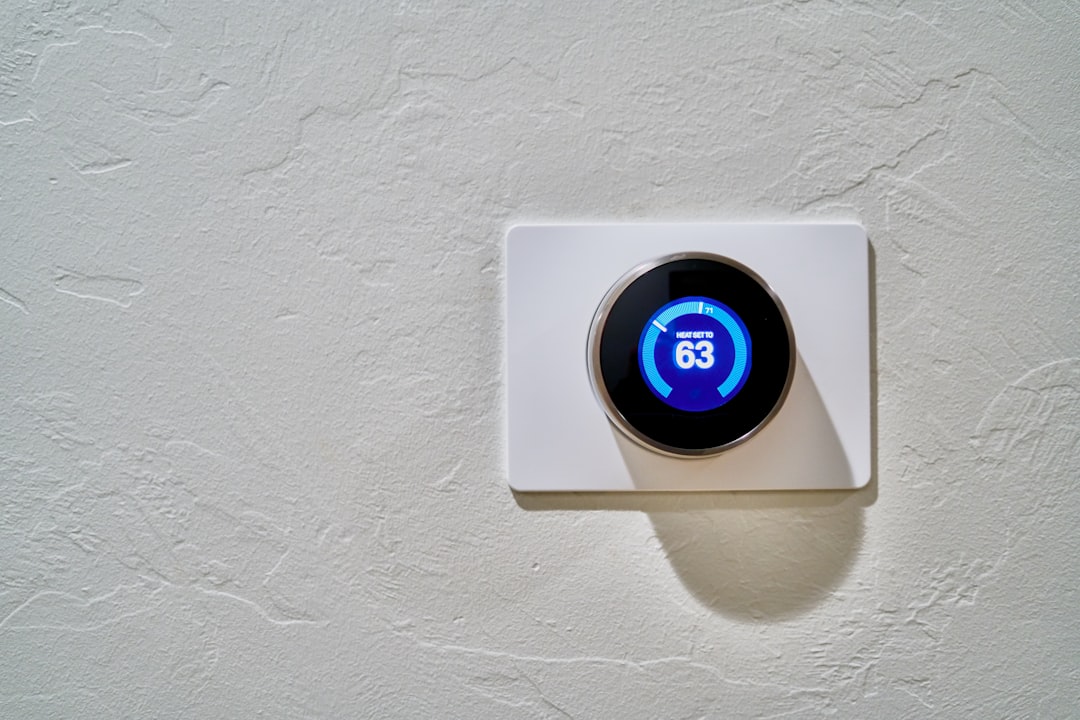
I started exploring Home Assistant and to start integrating devices into it I wanted to have a monitor in my living room that can monitor the temperature and humidity in the room.
Since I very often use NodeMCUs for projects like this, I also wanted to make a PCB that will be the base for it as well as a power supply (HLK-PM01) so I can very quickly put projects together. In a previous video, I created and ordered one such board so today, we will use it as the starting point for the environment monitor. You can order this PCB and use it for your own projects from PCBWay where you can get 10 pieces manufactured for only $5.
In the video below, I go over the PCB, how it works, how to assemble it and also how I tested it out using an Arduino sketch and finally, how I managed to integrate it with Home Assistant by using ESPHome.
Tools and materials used in the project:
- NodeMCU development board - https://s.click.aliexpress.com/e/_DmOegTZ
- DHT22 Sensor - https://s.click.aliexpress.com/e/_Dlu7uqJ
- HLK-PM01 5V power supply - https://s.click.aliexpress.com/e/_DeVps2f
- 5mm pitch PCB screw terminals - https://s.click.aliexpress.com/e/_DDMFJBz
- Pin headers - https://s.click.aliexpress.com/e/_De6d2Yb
- Soldering kit - https://s.click.aliexpress.com/e/_DepYUbt
- Wire snips - https://s.click.aliexpress.com/e/_DmvHe2J
- Rosin core solder - https://s.click.aliexpress.com/e/_DmvHe2J
- Junction box - https://s.click.aliexpress.com/e/_DCNx1Np
- Multimeter - https://s.click.aliexpress.com/e/_DcJuhOL
- Soldering helping hand - https://s.click.aliexpress.com/e/_DnKGsQf


