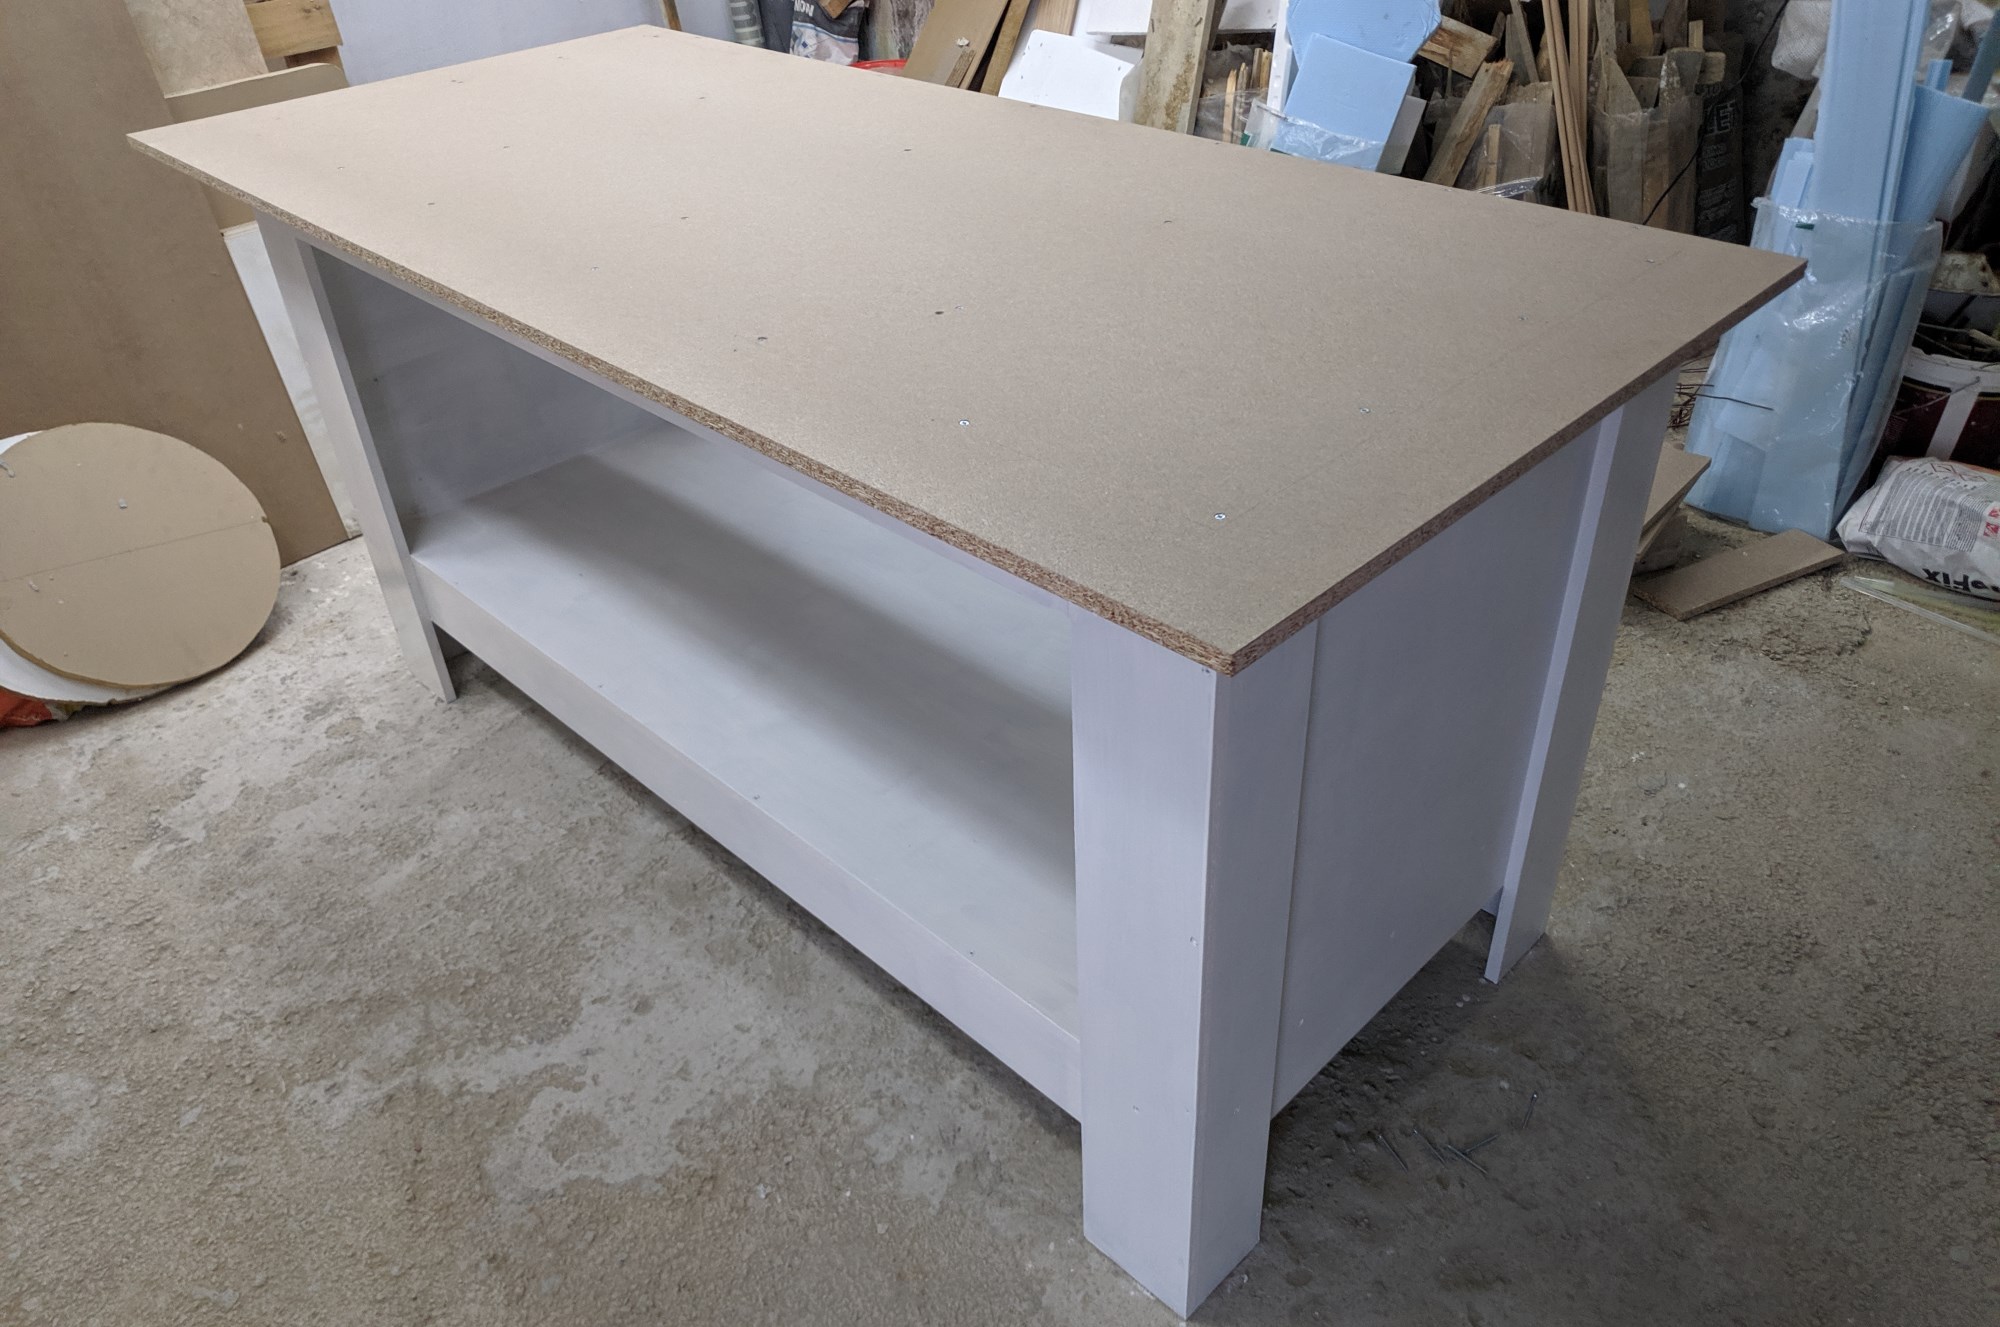
Beyond my electronics and computer desk, I’m building a workshop in my basement where I can work on bigger projects and furniture items for my house. For that, one of the first things that I needed was a workbench.
I watched quite a lot of YouTube videos to see how people around the world build them, but in the end, a very high percentage of them were overkill for what I needed.
I needed something simple, easy and most importantly cheap that can at least serve me for a couple of years until I improve my skills.
My first thought was to use wood to make the workbench but a problem is that the wood I can buy locally is wet, construction-grade pine that is quite rough milled. With it, I will need a lot of time and tools that I do not own (jointer, planer and a table saw) to make it good enough for a bench. So I considered using particleboard.
It is cheap, straight, has a relatively nice surface finish and I could order it pre-cut so I will not need a lot of tools to build my workbench. Additionally, since it is pre-cut, I can take all of the small pieces in my car to bring them home and handling them on my own will be very easy.
One downside is that since it is not protected, particleboard will draw moisture out of the air and expand over time. This can bring the strength of the workbench down where it might break.
However, I took some preventative measures for this. First, I tend to keep humidity in the shop low. If there is no moisture in the air, the particleboard can’t absorb it. Additionally, I’ve applied a coat of paint on the workbench so the absorption will be minimal.
The entire build process is documented on my YouTube channel in two parts. The first part is the general assembly of the workbench base and the second one is the finishing and application of the horizontal surfaces. Check the videos below and make sure to comment on them for any thoughts and suggestions for improvements.
As an improvement, I’ve also built a vise out of particleboard. Yes, I know that this is quite unorthodox but I consider it as an experiment. One jaw of the vise is the workbench and the other one is made out of two pieces of particleboard that are glued together. Two screws are used with threaded inserts on the back to provide the clamping force and the entire thing is mounted on the front of the bench where I left no overhang on the top.
The front jaw does bend when I apply force on it, but so far I have not broken it. It provides plenty of force to hold a piece in place and it is relatively easy to get a piece in and out of it. All in all, I’m really pleased with its performance.
Particleboard is quite weak, but for situations like this, it is more than enough, I will not do any heavy work on it as I plan to make relatively small projects. I guess time will tell how it will stand up and I will definitely provide an update with more use.
To follow its lifetime, make sure to subscribe as I will use it in future videos on the projects I build.


