Before starting any work on a mains appliance, make sure that you disconnect it from the wall. Mains electricity is dangerous and can kill you if you are not careful.
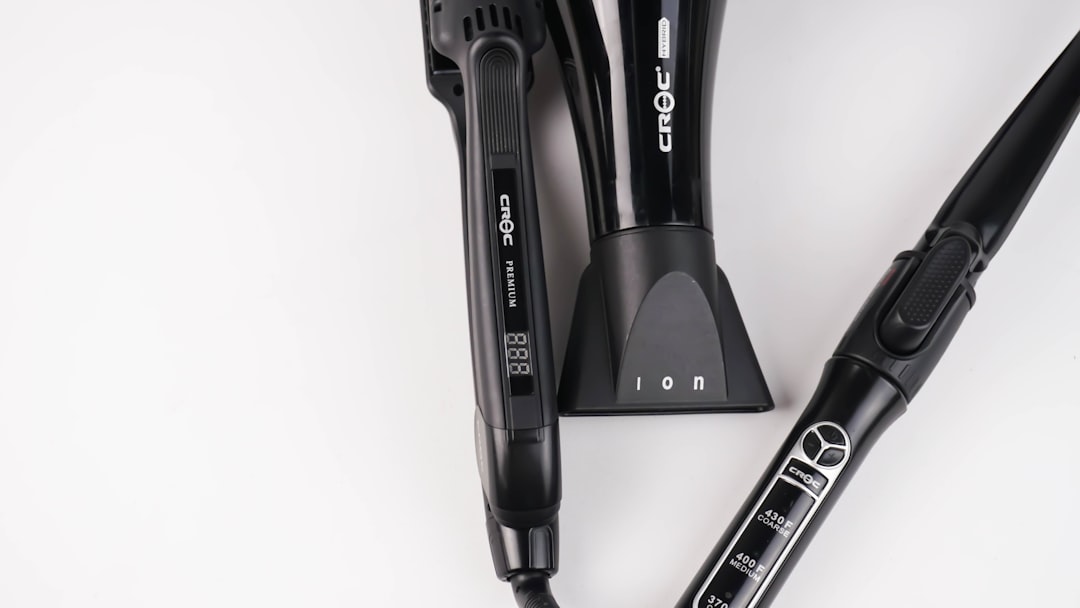
The curling iron is made in such a way that you can adjust its temperature and it will then heat up to that set temperature. In order for it to know the temperature, there is an NTC probe next to the heating element and its temperature is shown on the screen.
Once the temperature was set, the iron did nothing and it just stayed at whatever the room temperature was.
To open it up, there are two screws on the back holding the main body of the handle and two smaller screws in the bottom of the handle, holding the cable relief mechanism.
After I removed all of them, the handle can be split in half to get access to the PCB inside.
The curling iron has a microcontroller inside, that reads the tip temperature and turns on the heating element through a thyristor. In this case, the part number is X0405MF which is a 4A thyristor with a very low trigger current of only 50 micro A.
Once this small current is provided by the microcontroller on its gate, the thyristor switches on and turns on the heating element.
Since everything else was working but the heating element was not turning on, and there was no break in the heating element wire I knew that the thyristor is not turning on so I decided to replace it.
I first added a bit of fresh solder to its pads and with a desoldering pump, I removed most of the solder from the joins. Then while holding the thyristor with my hand, I heated all of the pads at the same time and pulled it off the circuit board.
With the thyristor being out, I’ve used the pump again to remove the rest of the solder and expose the through holes on the board.
The new thyristor is then placed with the same orientation and its legs are bent so it lays on the board as before.
The legs are then soldered in place and I removed the extra length of them with snips.
To know for sure that the fix worked, it is best that you connect and test the appliance while it is still open but that puts you in the risk of accidentally touching any of the live wires.
I didn’t want to take that risk, so I closed up the curling iron by first aligning the cable relief mechanism and returning all of the screws so the iron was back in one piece.
After plugging the iron into the wall and turning it on, its temperature immediately started going up so I knew that the fix has worked and that the iron is back in operation.
If you found this video and article to be interesting then hit that like button below, make sure to subscribe for more videos and until the next one, thanks for watching.


